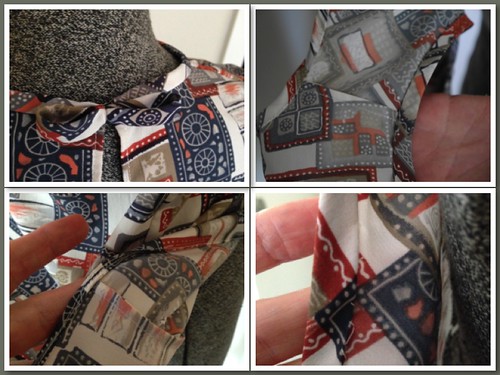
Sigrid, Tany, Marji, Els and Angela nominated me for the Threads DVD giveaway that
Mary Beth was kindly giving away and lucky me I won! I am so looking forward to receiving them and putting them to good use. Thanks ladies :)))
In the meantime I have received Lynda Maynard's fitting DVD and have been working with my sloper. I decided to work with the free Marfy pattern 1101. The smallest size is 44 and I at least 42 but maybe smaller. However after reading Lynda's book I thought I could work with the size 44 and agree it to my sloper. Remember I made my sloper from the saran wrap (which I promised to blog about but will when I am more confident that it works).
I laid my sloper over the Marfy (which I had cut out as a size 44) and made the following adjustments:
Back:
Took out 4cms in the back between waist and armhole
Took out 1cm each side from shoulder to hem
Took out 2cm below the waist
Reshaped the armhole (my line is the inside line and the original pattern is the outside line)
Tapered the shoulder line a tad.

Front:
4cms out between waist and bustpoint
Lowered bust point a bit more and redrew dart legs
2cms out below waist
Reshape the armhole (my line is the inside line and the original pattern is the outside line)
Taper the shoulder line a tad.
 I also adjusted the sleeve to take out some extra ease from the front.
Now to the muslin:
 (BTW, I have the cuff only on my left sleeve and oops, I have it on upside down. Oh and the dart looks like it is going too high but that is just a crease from my pressing.)
I was pretty happy with the front but had found it to be tight to move my arms. So I look 1 cm in on each side seam and adjusted the sleeve as well. This helped. I think I still need to reduce the ease in the sleeve cap a bit in the front.

The back, not so good! It is tight if I pull forward (see the horizontal pull up high on shoulder blades) and theres lots of fabric further down.
After putting in some darts and tucking a bit for a straight back this is what I have - much better but I want to go back and work on that further.

I had DD cut the upper back to see how much extra I need. I need it up high to cover shoulder blades but not around the armhole....mmm....maybe a shoulder dart. Need to go back and review sloper with pattern.

I plan on making this is a soft cotton so it will not be as stiff as the calico but will still have body and no stretch. So I mustn't over fit but when do I say - this is how it should look? After all I do have to be able to move in it.
I googled up this pattern and came up with a post by
Liana and
Sigrid. Both have made it before. If either of you are reading can you comment on what you did with the back on your versions? Did you leave it as per the pattern or did you shape it a bit?
ETA - Both Liana and Sigrid have done reviews on PR - neither adjusted the back. Also Sigrid pointed out the error in the cuff - no wonder I put it on the wrong way!Sorry if this post is a bit disjointed, but I am just playing at the moment. When I am confident that my alterations will work I will post a better example of how I went about the changes. In the meantime any feedback is always welcome :))


